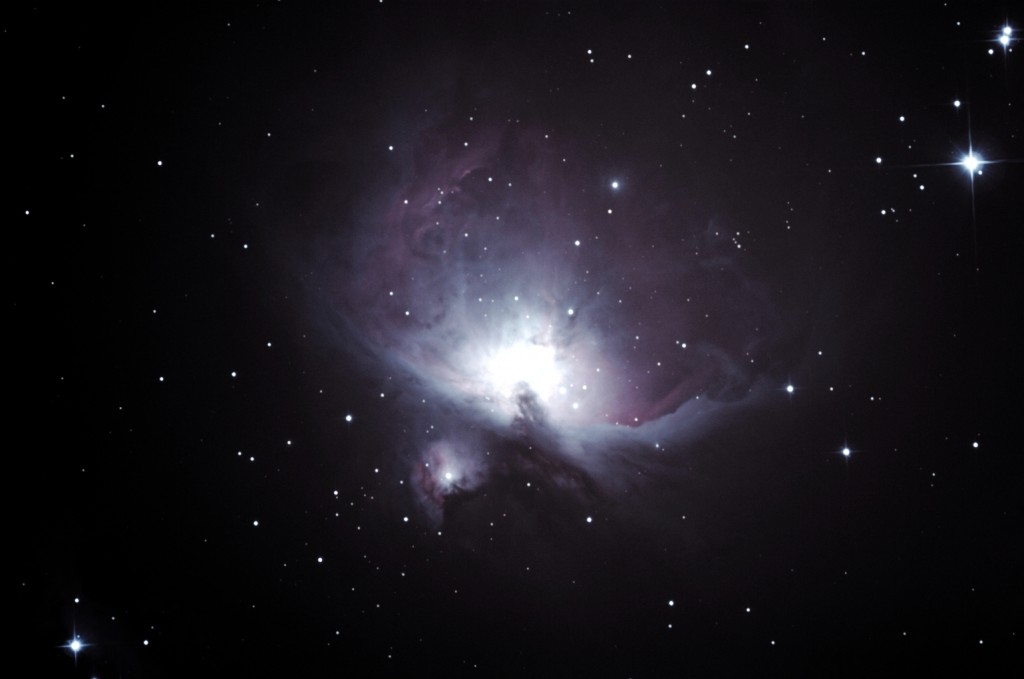
Christmas is coming and I’m looking forward to some astronomical treats. I’ve done some imaging since the last update but the weather hasn’t been too good so it’s just an hour here or there depending on fog and fogging mirrors! (maybe some research into dew heaters required?). No images worth sharing but I’ve been improving my approach and have been able to take guided images of 4 or 5 minutes which will be great when I get all the new gear in place.
So what changes are happening at Ty Du? Well to start I was gifted an old Acer laptop from my sister-in-law (thanks Al) which may be old (the laptop  but is streets ahead of the ancient model I currently use. In simple hardware terms I’m moving from 512MB to 2GB of RAM which will make a massive difference given the number of apps running simultaneously when imaging. The down side of the new (old) laptop is that it doesn’t have a parallel port and my long exposure cable for the Canon uses parallel. I knew this day would come but didn’t realize the trouble I’d have working around it.
I was thinking it would be easy to buy a USB to parallel converter (only £3 on amazon) and plug my existing cable into that but it seems these cheap parallel cables are designed for printers and not to run pin2 switching for “DSLR Shutter”. I pried the case open, prodded it with a multi-meter but I wasn’t getting the same control on the data lines as I would with a traditional LPT port so I splashed out another £3 for a USB to serial cable. I knew this wasn’t a direct replacement but after studying online circuit diagrams I was happy that connecting the RTS line from the serial adapter to the opto-isolator on my parallel adapter would solve the problem and be easy enough to do.
Well it would have been easy if they’d sent the right cable! doh! I’m sure a VGA splitter will come in handy one day, so after dropping it into my “odd cables” bag I set about working on plan “c”. Plans “a” and “b” both provided a working solution without changing software but plan “c” was much more radical. So here it is:
“Plan C”
I had an Arduino board (google it, it’s an awesome open-source project) lying around so I thought if I interface that to the opto-isolator I could use the microcontroller to open and close the camera shutter.
Hmmm, but then I won’t be able to use “DSRL Shutter” so I’ll have to write some timer software for taking multiple exposures. Oh and I’ll have to write some firmware for the arduino to allow me to control it through the USB port … what was I thinking.
So I did it, it took most of the afternoon to knock together the exposure timer and I wrote the firmware yesterday evening.
// Project	 :	canonDSLRtimer
// Author    :	Duncan Abraham
// Date      :  10-Dec-2011
// Version   :  1.000

void setup() {
  Serial.begin(115200);           			// set up Serial port at 115200 bps
  Serial.println("canonDSLRtimer v1.000");
  pinMode(13, OUTPUT);						// pushing pin 13 (LED) high at same time for visual reference
  pinMode(12, OUTPUT);  					// using pin 12 for the shutter trigger
  digitalWrite(12,LOW);						// set pin low
  digitalWrite(13,LOW);						// set pin low
}

void(* resetFunc) (void) = 0;

void loop() {
	while (Serial.available()) {
		byte inByte1 = Serial.read(); 		// read a character from the comm port

		if (inByte1 == 65 || inByte1 == 66 || inByte1 == 68 || inByte1 == 86 ){ //A,B,D,V
			if (inByte1 == 65) 				// A = shutter open
			{
				Serial.println("shutter open");
				digitalWrite(13,HIGH);
				digitalWrite(12,HIGH);
			}
			if (inByte1 == 66) 				// B = shutter closed
			{
				Serial.println("shutter closed");
				digitalWrite(13,LOW);
				digitalWrite(12,LOW);
			}
			if (inByte1 == 68) 				// D = RESET
			{
				resetFunc();
			}
			if (inByte1 == 86) 				// V = Show Version
			{
				Serial.println("canonDSLRtimer v1.000");
			}
		}
	}
	delay(10);
}
So that’s the arduino sketchbook .pde file that tells the microcontroller how to interact with the data coming down the USB connection.
Next step was the Windows software to control the arduino. As you can see from the code above I set up a simple method involving a single character being sent:
- “A” – open the shutter
- “B” – close the shutter
- “D” – reset the Arduino
- “V” – display the version number
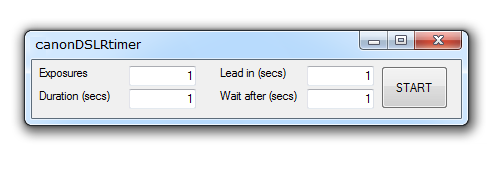
The Windows software was developed in C# and provides an interface to connect to the comm port, select exposure times etc and run the timer.
Port selection screen. This screen presents a drop-down box showing all available comm ports on the PC. When you pick a port and press “select” the application tries to communicate with the arduino by sending a “V” for version. If nothing is returned the application tells you to try again 

After selecting a comm port you are presented with the chance to select how many exposures you want to take, any delay before and after and the duration of each. I’ve gone for all times in seconds to save confusion, but it would be easy enough to convert this to hrs:mins:secs in version 2 (maybe).

Finally, when you press the “START” button it goes into timer mode and starts counting the seconds and the exposures. 2 progress bars show completion of the current exposure and all exposures.
 So that’s it, quite simple really but it works. I’ve been down to the observatory and (after installing all required .Net libraries …) I was able to take several short exposures to prove the system works in principle. I won’t know for sure until the weather changes.
What about the Christmas treats I hear you ask, well, finally I bought a Baader MPCC to turn my rubgy ball shaped stars into nice round points. Of course I couldn’t stop at that, the MPCC won’t fit into my standard rack and pinion Skywatcher focuser without me fitting the 2″ adapter. That would prevent me reaching focus with the DSLR. So I had to ask Santa for a low-profile, dual speed, crayford focuser as well :).
I bought a 2″ skyglow filter some time ago, but without the correct fittings I wasn’t able to use it. Now it will screw into the bottom of the MPCC so I’ll have flat images with reduced orange glow – I can’t wait.


 So that’s it, quite simple really but it works. I’ve been down to the observatory and (after installing all required .Net libraries …) I was able to take several short exposures to prove the system works in principle. I won’t know for sure until the weather changes.